So I tripped across a thread that devolved into a couple of magnetization tutorials for swapping heavy jack arms around and I thought to myself, I could make a tutorial for that. So I did!
Why magnetization? Because I’m not made of money! For a couple bucks more, about 30 minutes of effort and a some super glue stuck to my hands I can freely swap between all the variants contained in each heavy jack box (it’s actually quite easy).
To get started, I find it easiest to lay out the jack and its bits on paper, to make sure I’m not missing an arm (or magnetize it to the wrong side)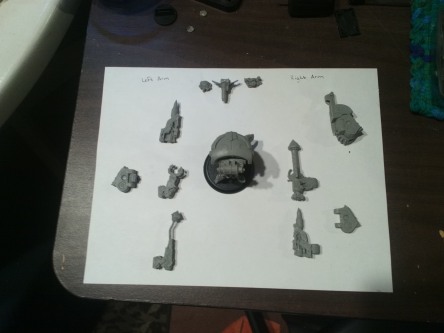
Now the CoC heavy I have here (the Cipher/Inverter/Monitor) is a touch more complex to magnetize than a typical heavy jack (the right arm has that saw thrower that includes the shoulder mount). For most normal jacks, the tricky part is not over drilling into the skinny arm mount into the shoulder. Now, I’ve already done a little work on this jack, magnetizing its faces.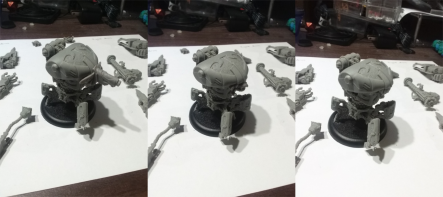
What you need to get started is quite simple. Something to magnetize (in this case, a jack) and a drill bit that matches the diameter of your magnets (I’m using 1/8″ dia x 1/16″ thick magnets, so I have a 1/8″ drill bit). Some people use a pin vice (also known as a hand drill), they’re cheap and run about $10.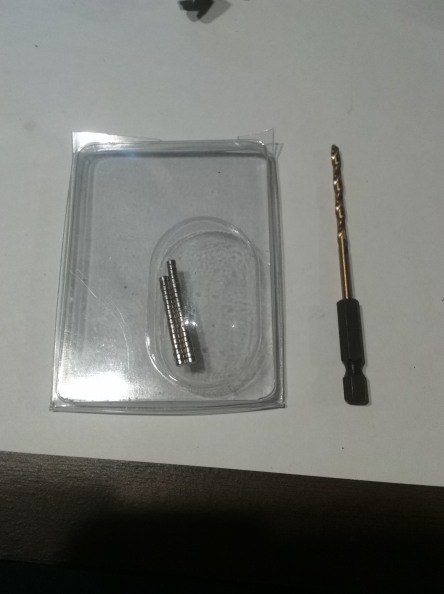
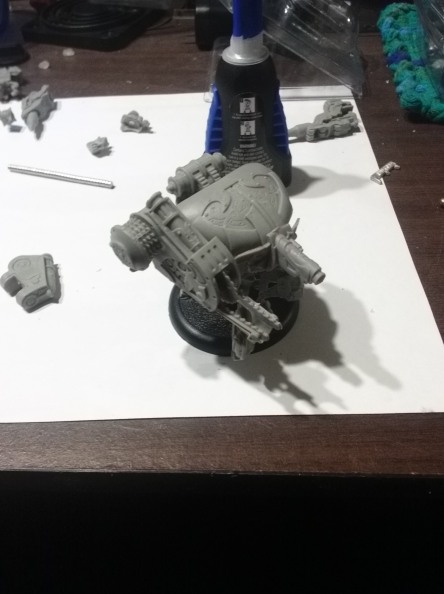
So we’ve got something to magnetize, a drill bit and magnets! Onwards! First, pick the first joint that needs magnetization, I’ve selected the right shoulder joint.
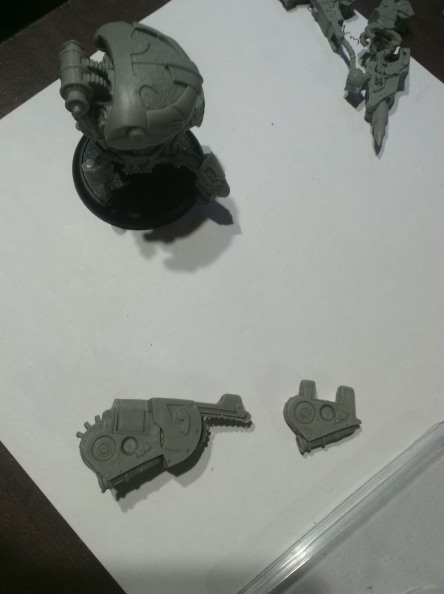
So I’m going to need three magnets, 1 for the shoulder itself and two for the arm bits. Now there are a number of tips/tricks/techniques to get precise alignment (such as globbing paint on the shoulder then pressing the other bits against it to mark where to drill). I’ve found that in most cases it is easiest to just start drilling roughly in the center of where the magnet needs to be. The key is to get the magnet almost flush with the surface so that when the two pieces are stuck together for a game, the magnets have the strongest hold they can (touching, as magnetic attractive force drops exponentially with distance). So, drill a hole!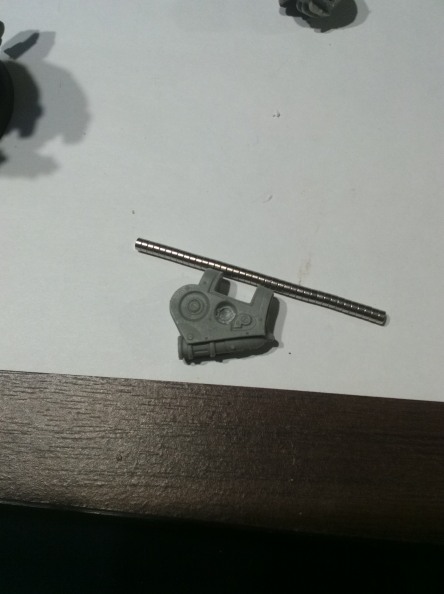
Then gob some glue into the hole!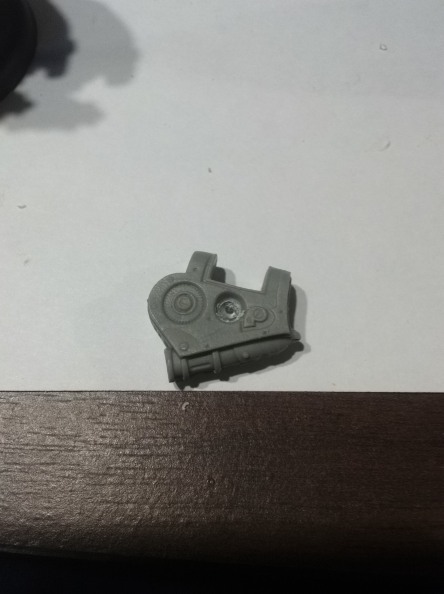
Next, stick a magnet into it! For the first magnet, orientation does not matter (unless you’ve got another magnetized jack, in which case you should have an idea of what you’re doing).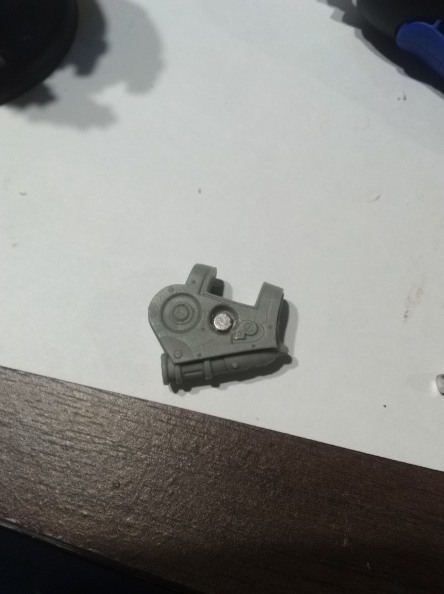
Now comes the slightly tricky part. As most people know, magnets have two sides, commonly referred to as North and South poles. This polarity is what can make magnetization frustrating as you realize that you’ve stuck your magnet into a flush, precise hole with super glue and that sucker isn’t coming back out. The method I use to ensure that I don’t cock it up is simple. I’ve got a stack of excess magnets (they come in blisters of 20 to 30 usually) and after I have my first magnet in and the glue has set, I just stick the stack onto the first part.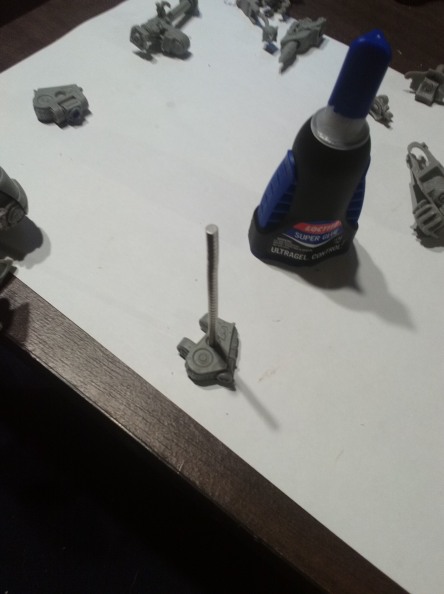
Thus I have a guide for the next part. When I go to glue the next magnet in, this allows me to easily match end to end (so for this project, the free end goes directly into the shoulder). So, going through the same process as before (drill hole, gob glue, insert magnet), I achieve great success!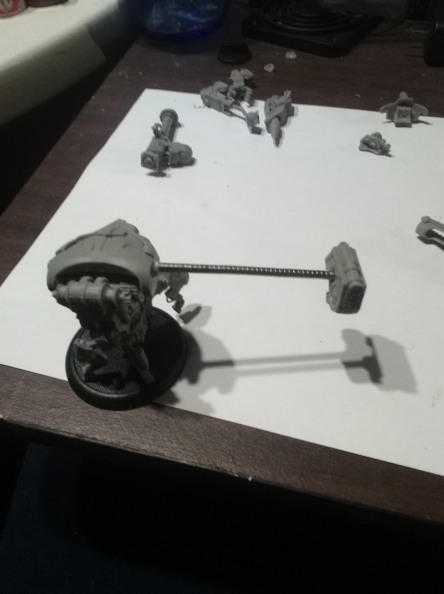
Err…wait. Here we go!
Super quick and easy! At some point I’ll collect, photograph, and post the other jacks I’ve magnetized.
